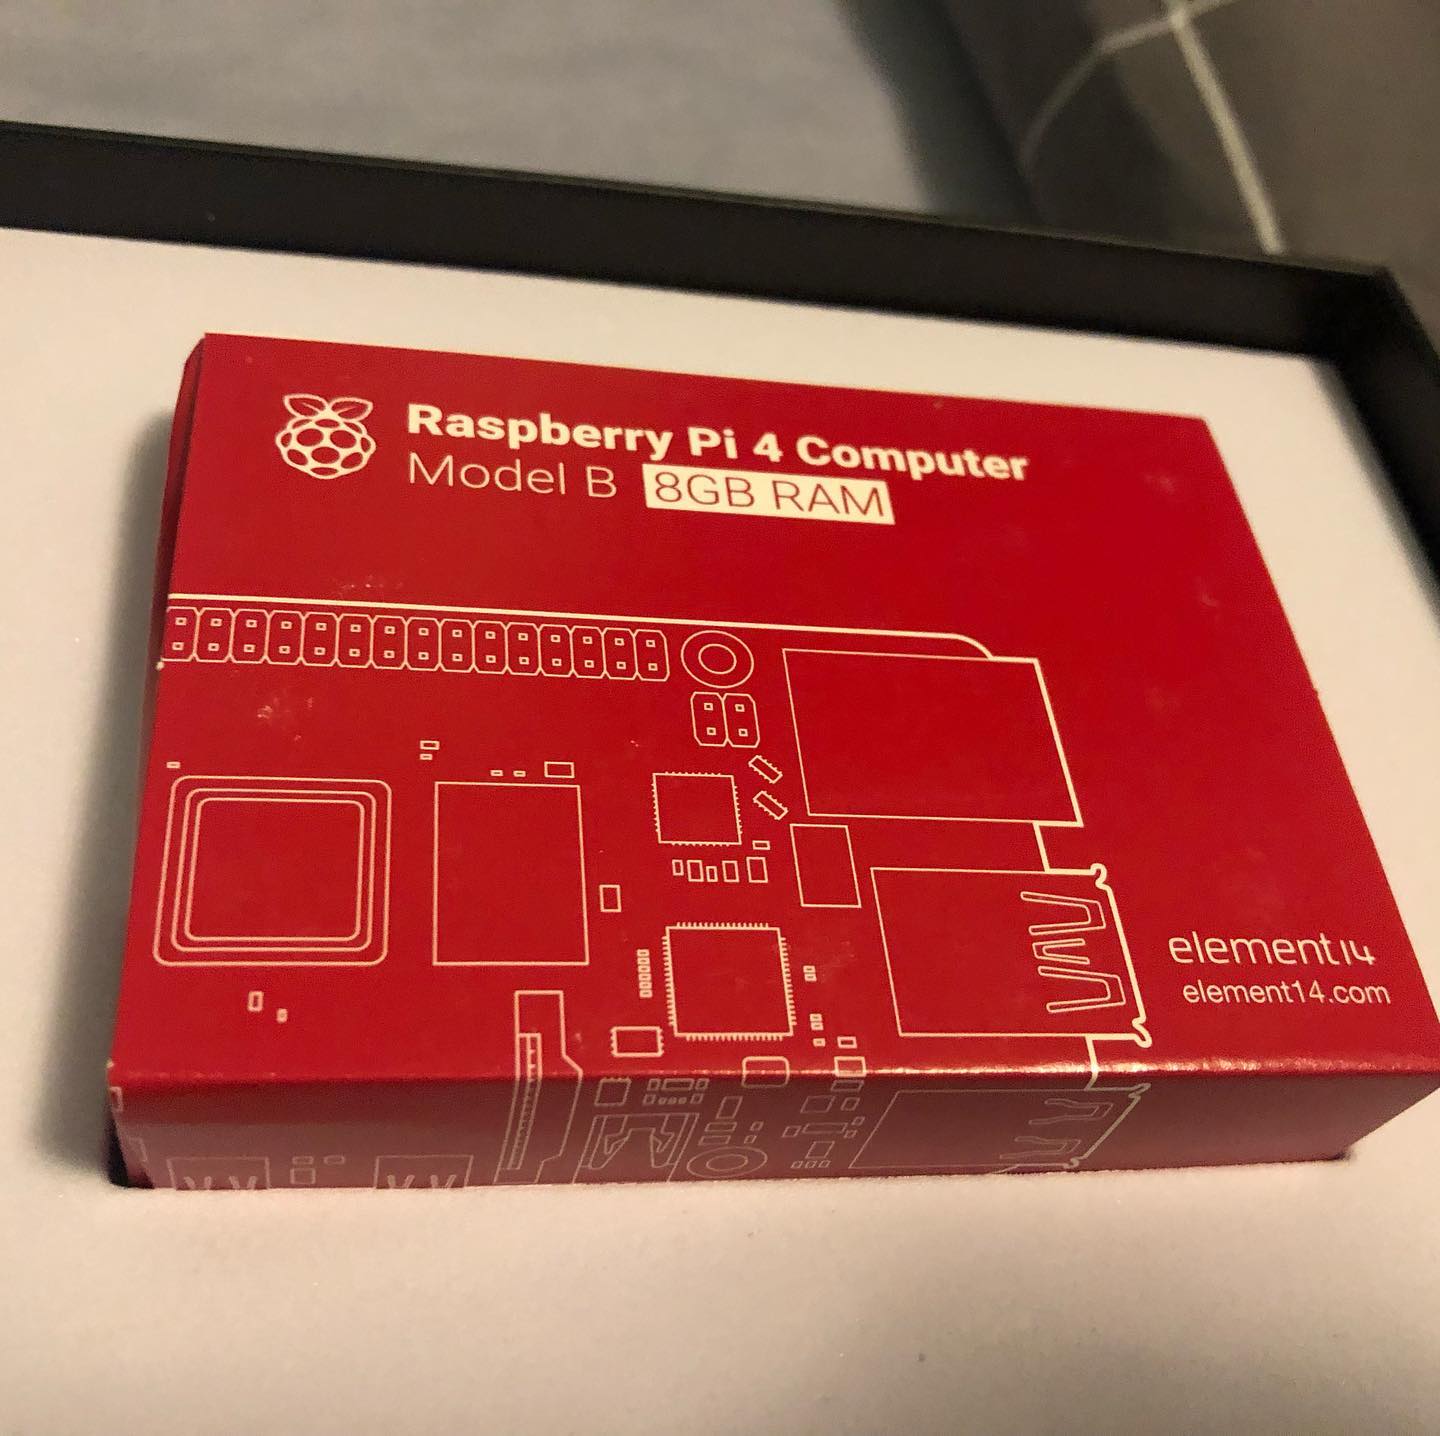
In this blog post, I will walk you through the three different options available when working with your raspberry pi computer. As we know, Raspberry Pi is a credit card sized computer that can be deployed into many field-operations. This means you don’t always have access to the “pi” physically, and hence need to be able to connect to it remotely to deploy code updates and OS updates.


The first and easiest way to use Raspberry Pi is to connect a HDMI display and connect directly. In fact, when we first unbox a Pi and power it up, it’s the only way to connect to it. In my example, I have connected the Pi to my TV using one of the two HDMI ports available on the pi. ( The one I am using is a Raspberry Pi, model B). I am not going to go into the configuration details in this video, but let’s just say you need to be able to connect to your Wi-Fi Network, change the root password etc. A note about the network settings, to get the most out of your Pi ( or for that matter any computer), its best if you setup a static IP address. This way you are able to connect to it remotely as long as the machine is in this particular network. Make a note of that IP address.
Once that is done, you can disconnect your Pi from the monitor, and even move it to a different, static location. After powering it up, you can connect to it using a simple console-based application like Putty. Fire up putty, and create a new connection, enter the IP address and login using your credentials. Simple as that.
This is all good but if you want to get the full graphical experience with your Pi, you may want to connect using a Remote desktop application. Just like windows machines, this is also quite simple, but you just need to add a few applications on the Pi itself to enable this functionality. Use Putty to connect to Pi, and then run the following commands in sequence.
sudo apt-get install xrdp

sudo apt-get install tightvncserver
Now, depending on whether you are on a windows machine or a Linux one, open up either remote desktop or Remmina and enter the IP address and connect just as if you were connecting to any Windows machine. There we go, all done. With this graphical interface, you get a lot more flexibility and functionality required for certain work. Enjoy.
